
I wanted to share 2 hyperlapses that I done recently and share the cinematographic thinking…
Hiking the W Circuit
Torres de Paine National Park, Chile
Patagonia is from far the most beautiful place I visited and also the most south I ever went in the world. As soon as the group arrived in Buenos Aires, myself and 4 friends from Remote Year left to El Calafate and rented a car to go to Torres de Paine Park in Chile. In just 5 days, we were able to complete the famous W circuit on a budget. In this post, I will explain some details about our logistic and share with you the latest drone photography panoramic experiments.
With this video, I exceded the limit of 1 minute I tried to follow but I couldn’t help it. So many goof shots to share. I had 5 batteries for my drone and I used one each day. Trying to really picture how I was going to fly the drone around in the landscape efficiently was a challenge. You only have 20m to achieve the best videos and photos in the place you choose to fly. All was shot in D-log and I still need practice in color grading. One thing I noticed was that ND filters really sacrifice the sharpness of some shots and need to be used wisely. As for this flickering coming from the sun reflection on the propellers, it can get really annoying! You have to change your course sometimes to avoid it. I shoot the rest mostly with my D750 with my Sigma at 60fps and stabilized the footage in post with the Warp Stabiliser always doing a decent job.
- Nikon D750 + Sigma 12-24mm 4.5-5.6
- DJI Mavic Pro
- Premiere Pro CC
The music used for the video was just a perfect fit. It has all the water and birds chipping sounds that just add so much to the experience.
DAY 1
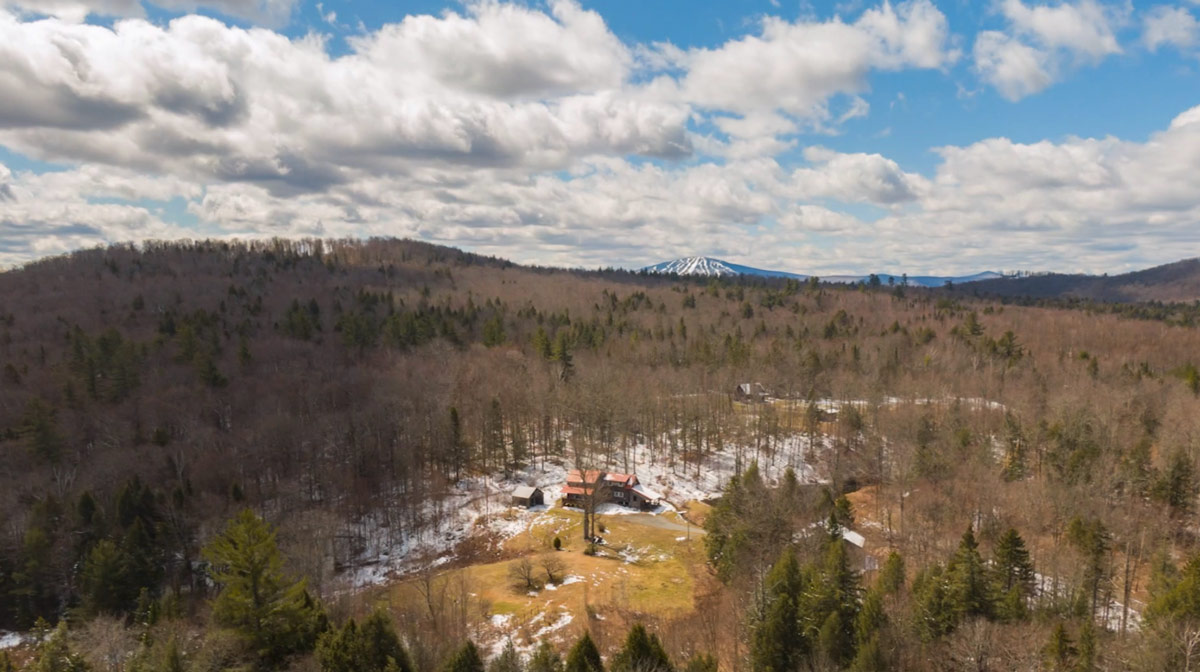
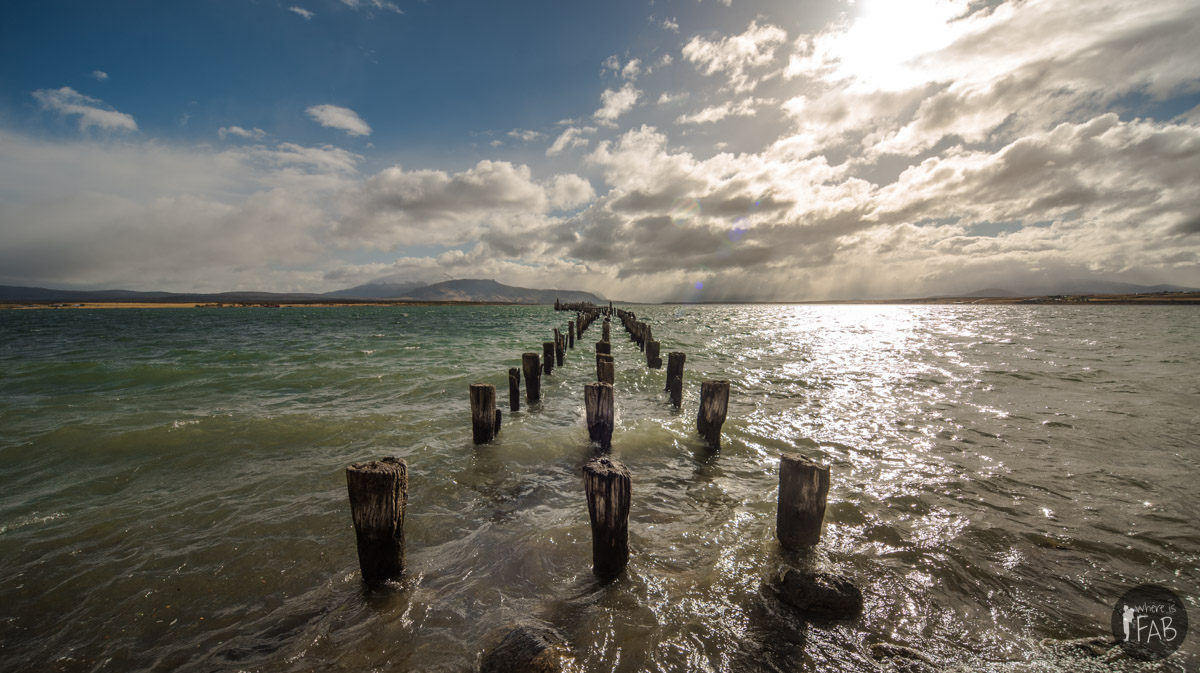
We first landed in the morning in El Calafate (Argentina) and rented a car at the airport. From there we visited the Perito Moreno Glacier less than 2h away west. Truly majestic. In the middle of the afternoon, we drove all the way to Puerto Natales in Chile where we spent just one night in a Airbnb. We had a small car and were forced to take a detour to avoid deep dirt roads. At some point, we hit a giant pot hole at 140 km/h and exploded a tire. Sometimes what is beautiful can be dangerous! We made it to Puerto Natales, bought some food and rented our camping equipment before finally getting some late rest.
We had a small car and we had to make a detour to avoid dirt roads. Some of the regular roads were also closed. The scenery was just amazing and so vast eventually we hit the biggest pot hole I ever seen and exploded a tire! Be careful.

DAY 2
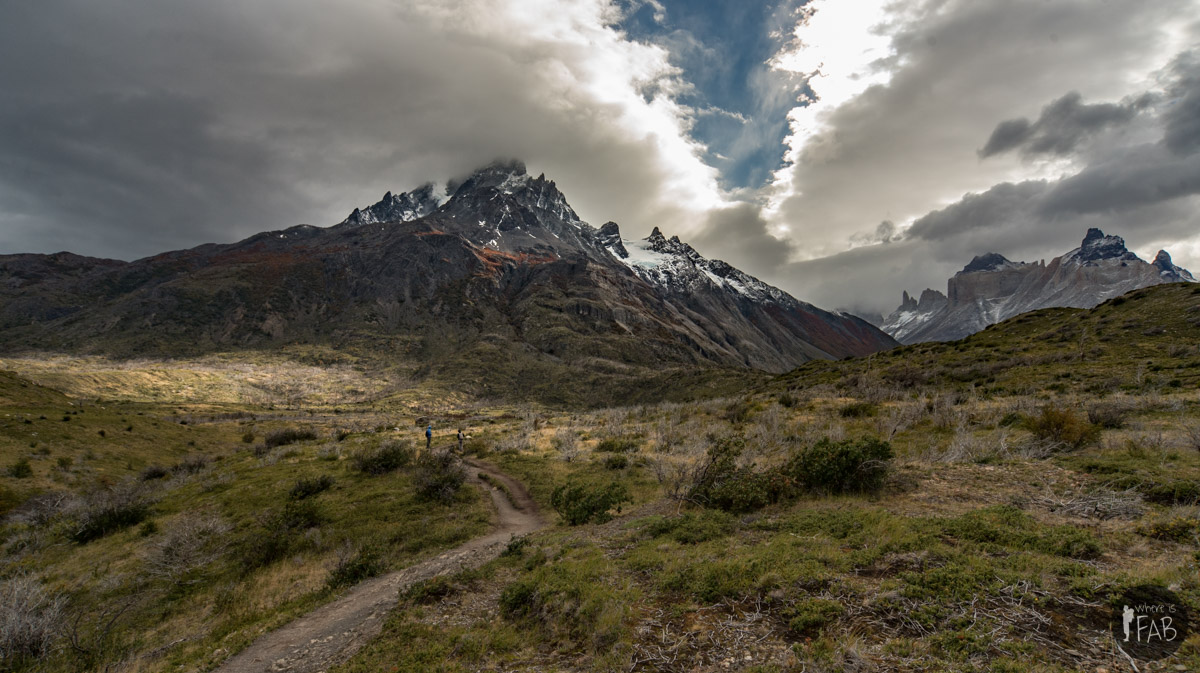
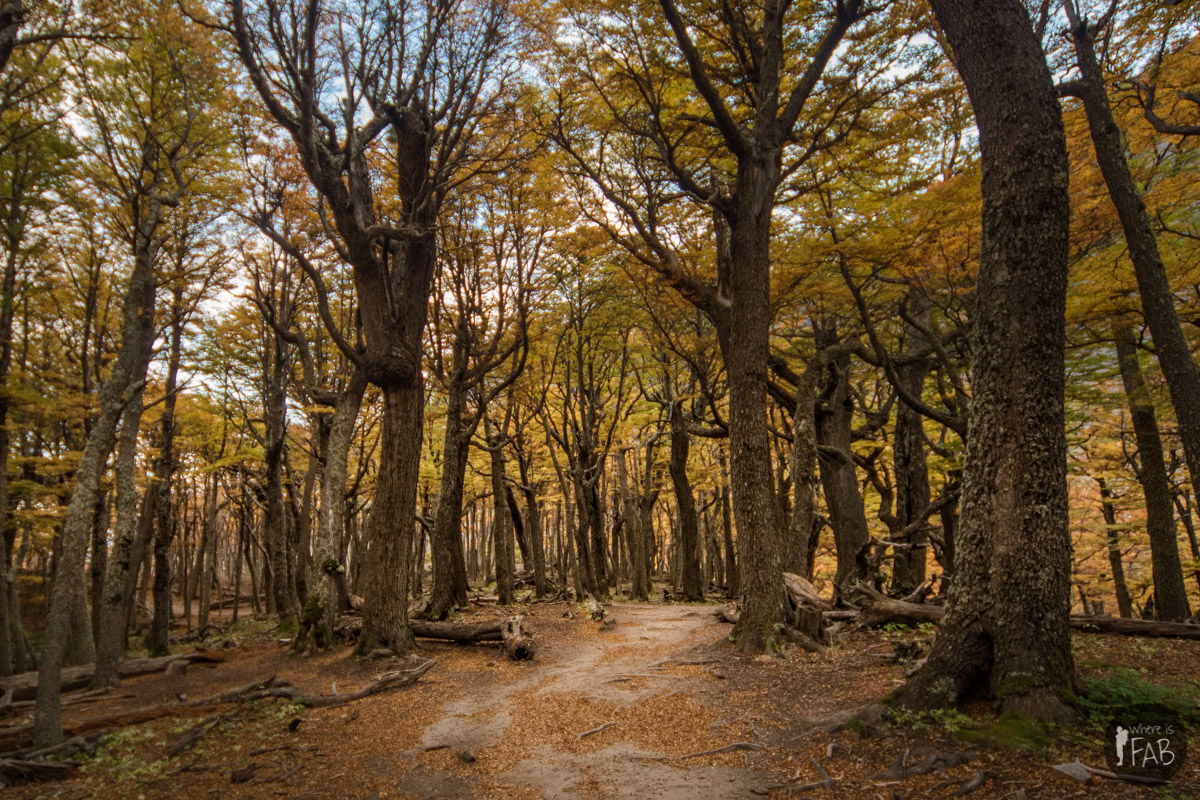
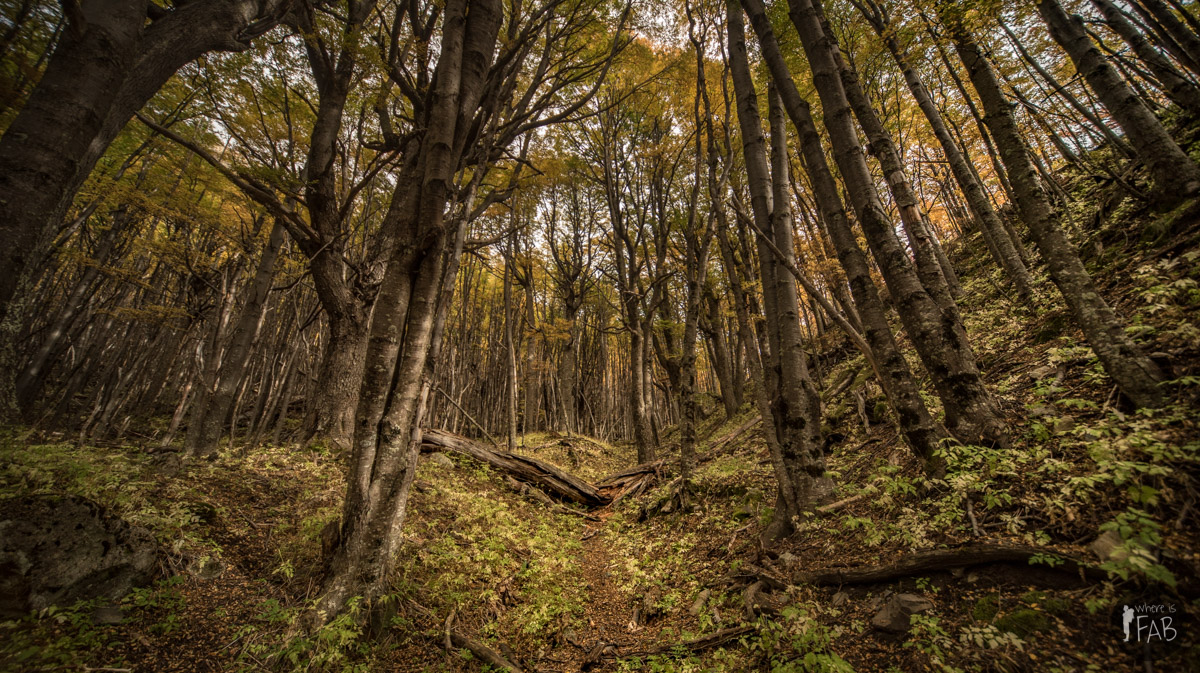
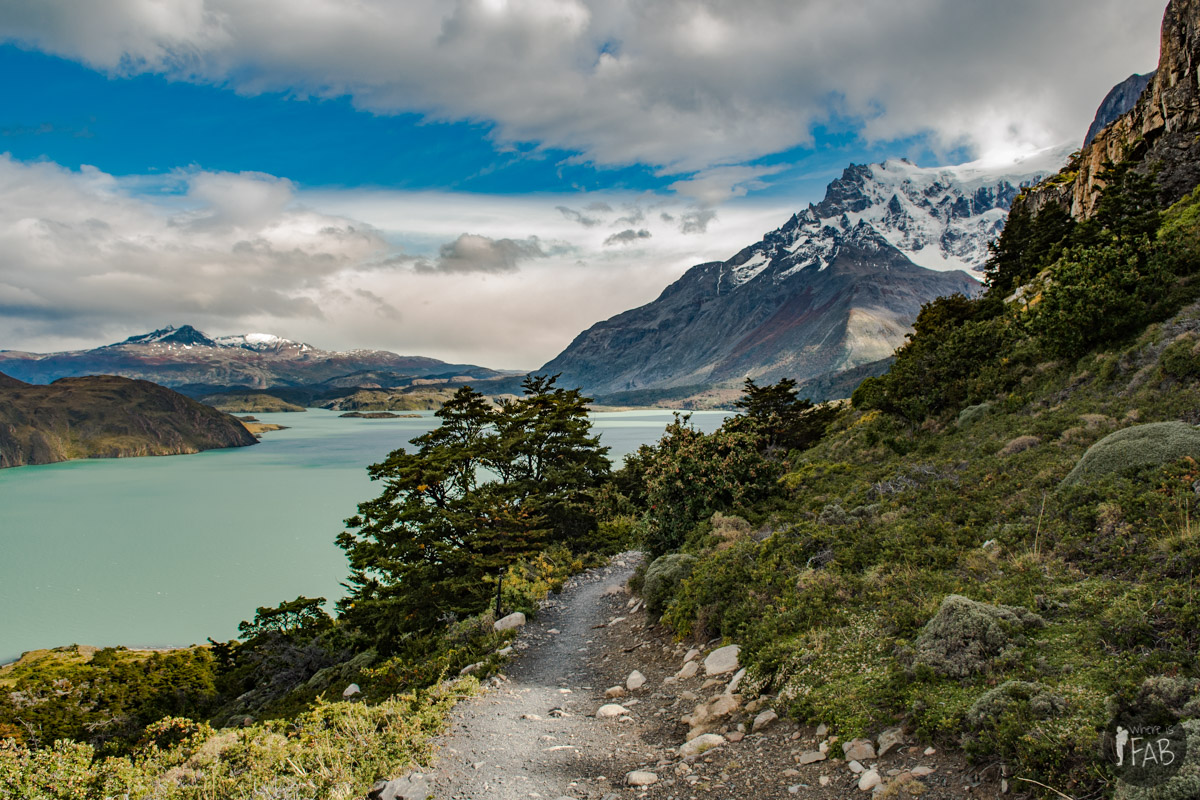
Fully loaded and still tired from the jet lag, we leave and drive to Estancia Pudeto where our plan was to leave the car there and take a ferry to Paine Grande where we would start our hike. Views are already just breathtaking and I just can’t believe my eyes! The boat drop us and we decide not to go north to the Grey Glacier but instead we make it to the Frances campground after a full day of walking. There is a clear red/orange line in the landscape due to the fall and this is just completing perfectly this amazing spectrum of colors.


Once our ferry dropped us at Paine Grande, we decided not to complete the first branch of the W to the Grey Glacier. Instead, we directly aimed for the Frances Campground.
DAY 3
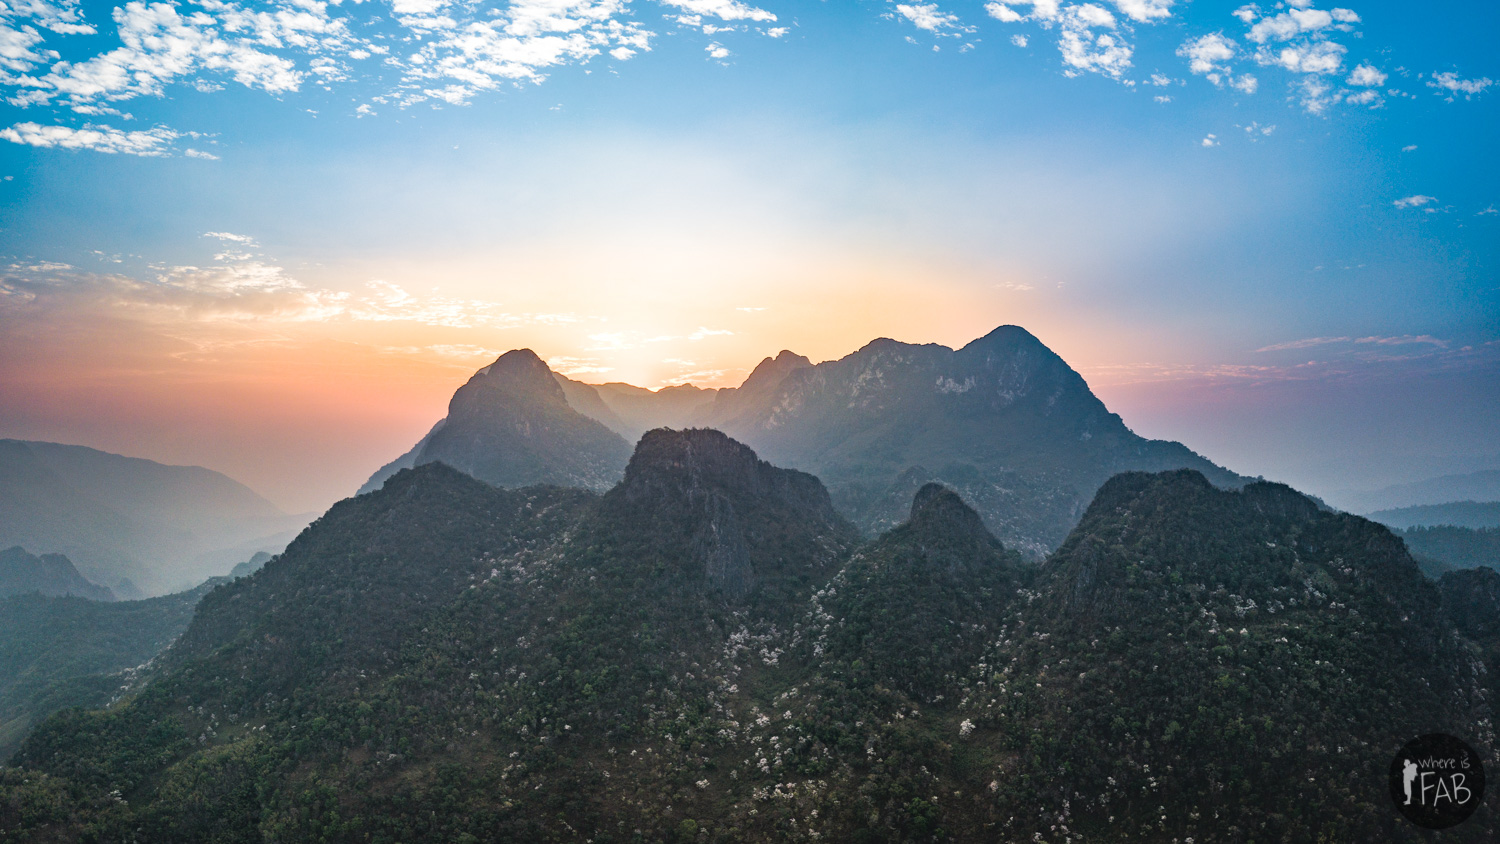
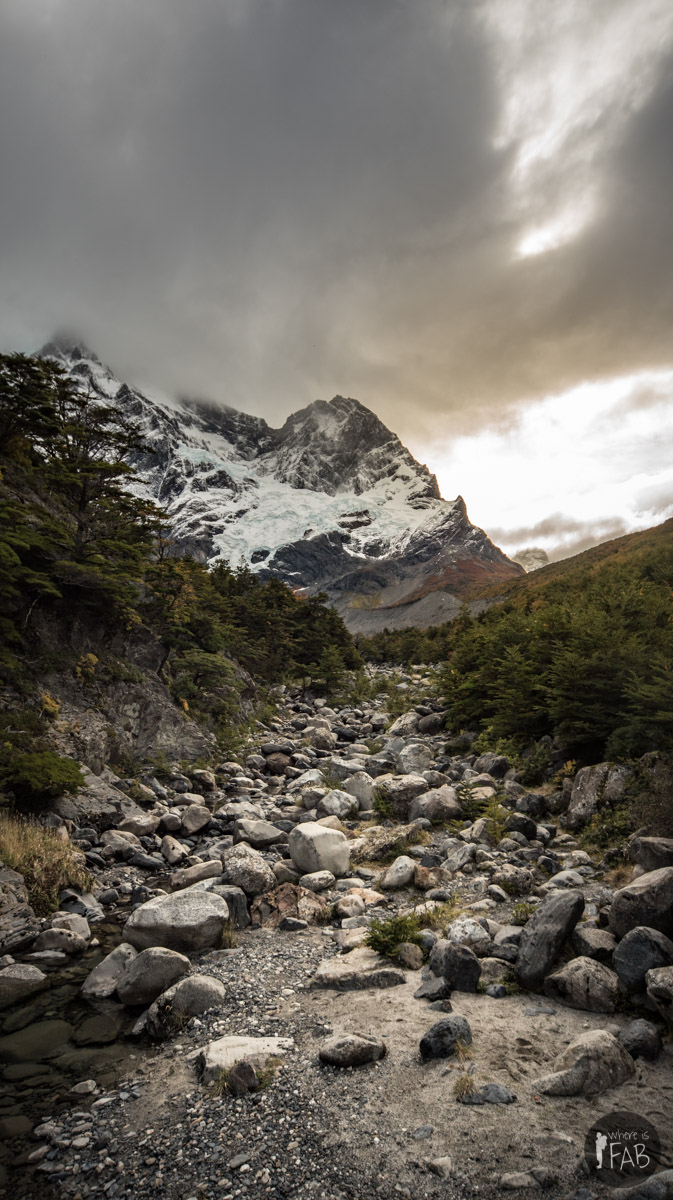
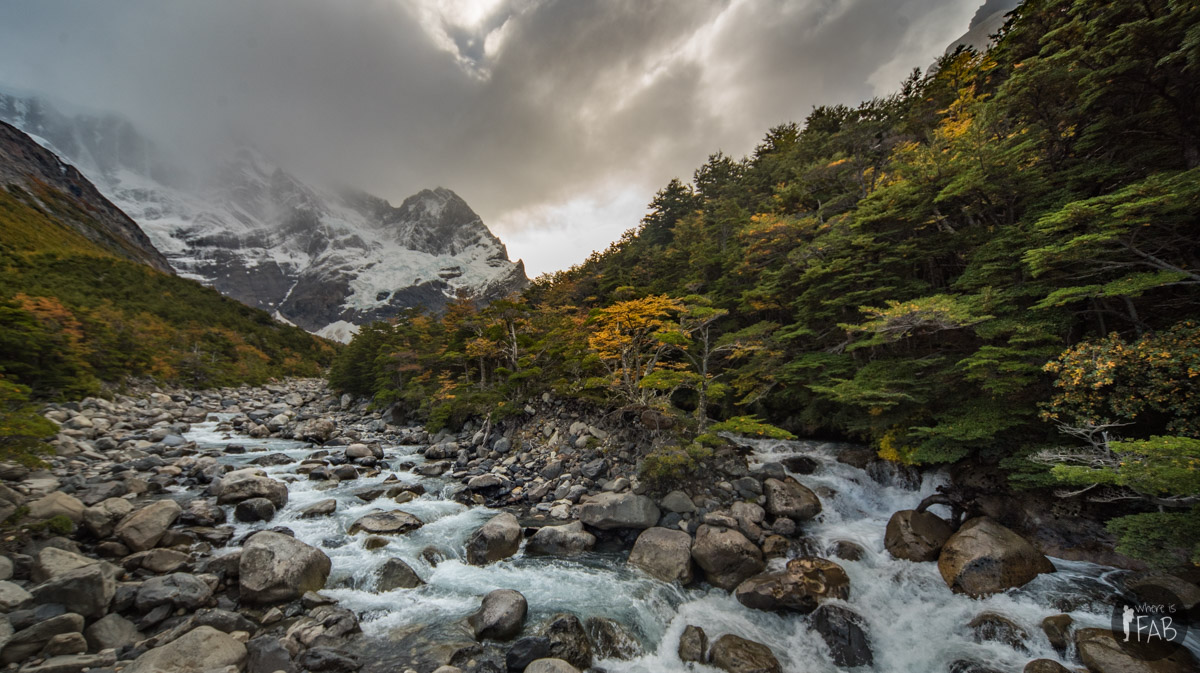
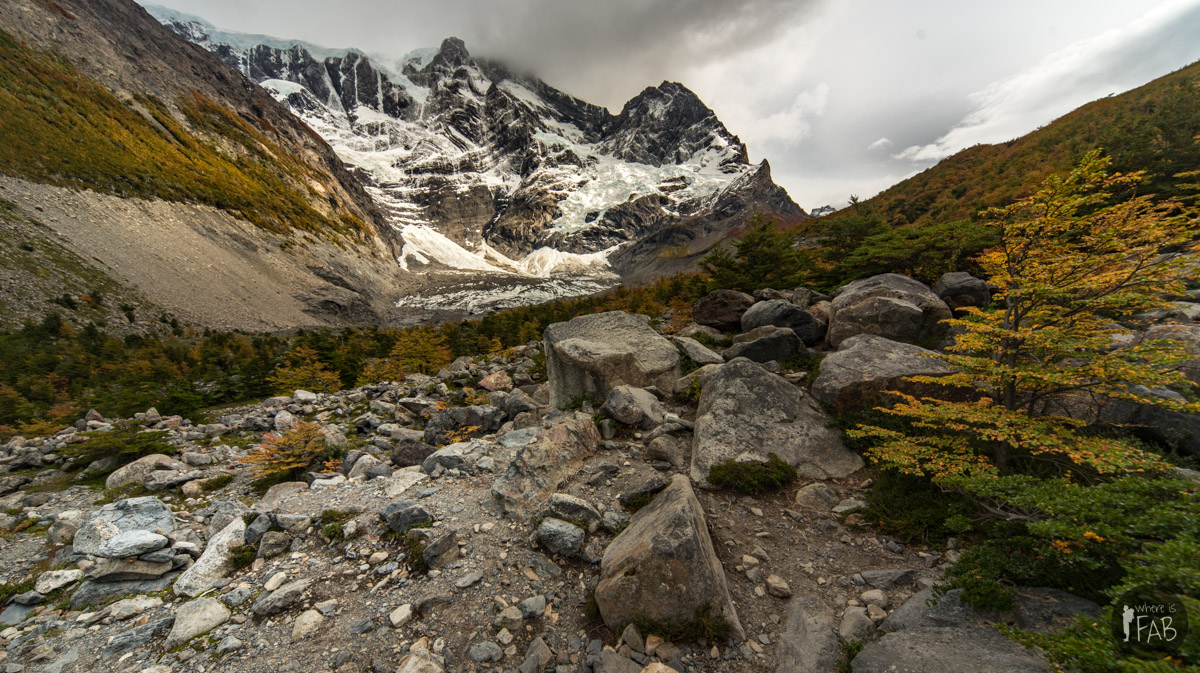
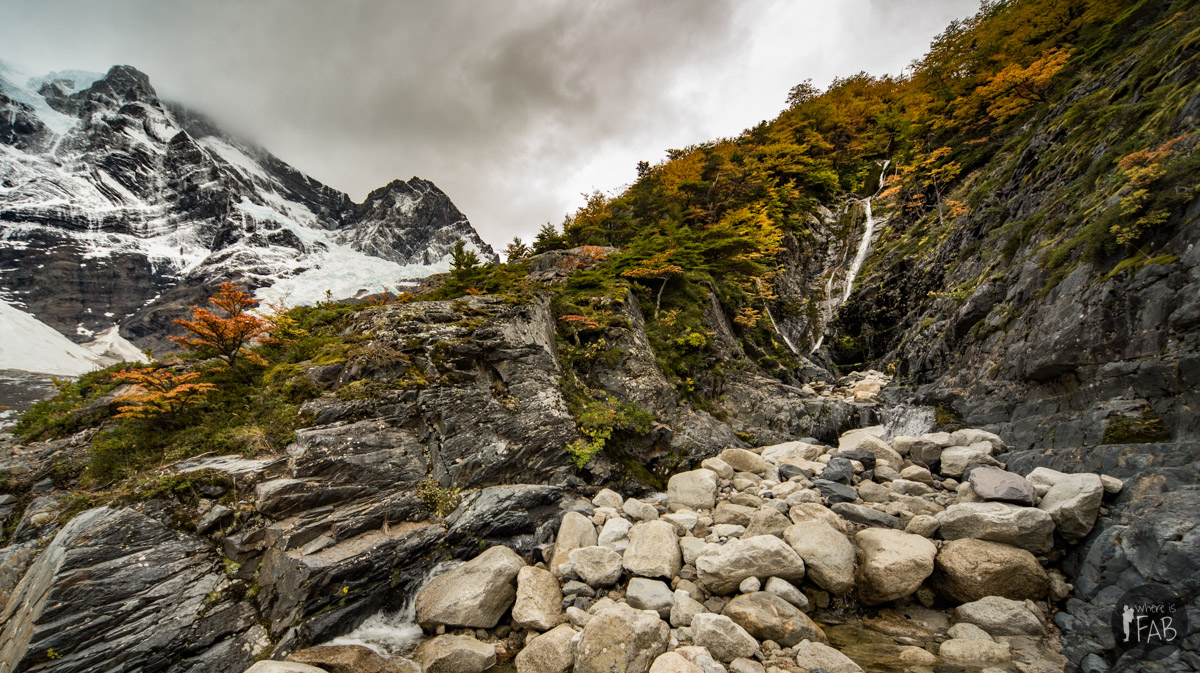
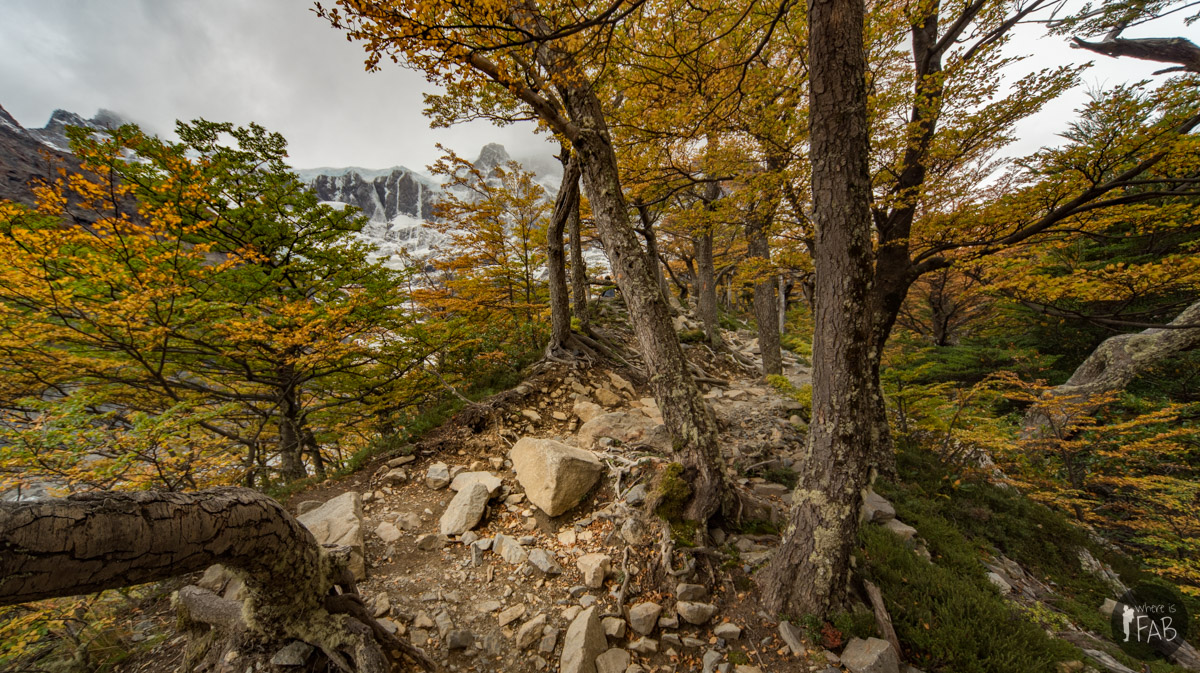
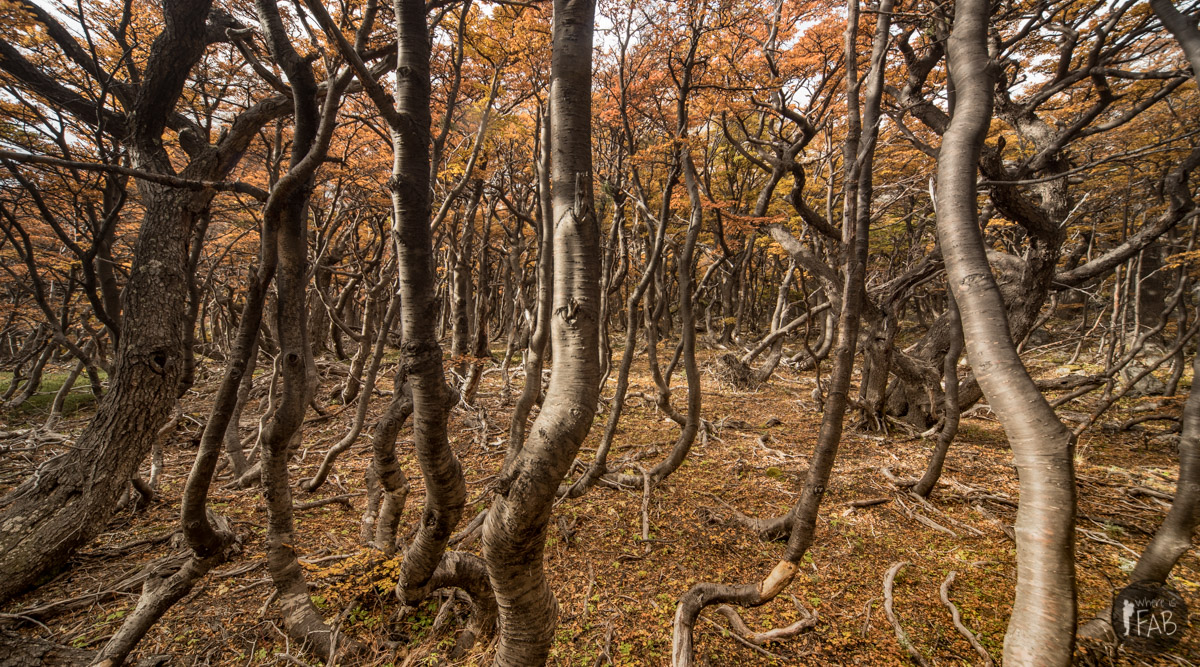
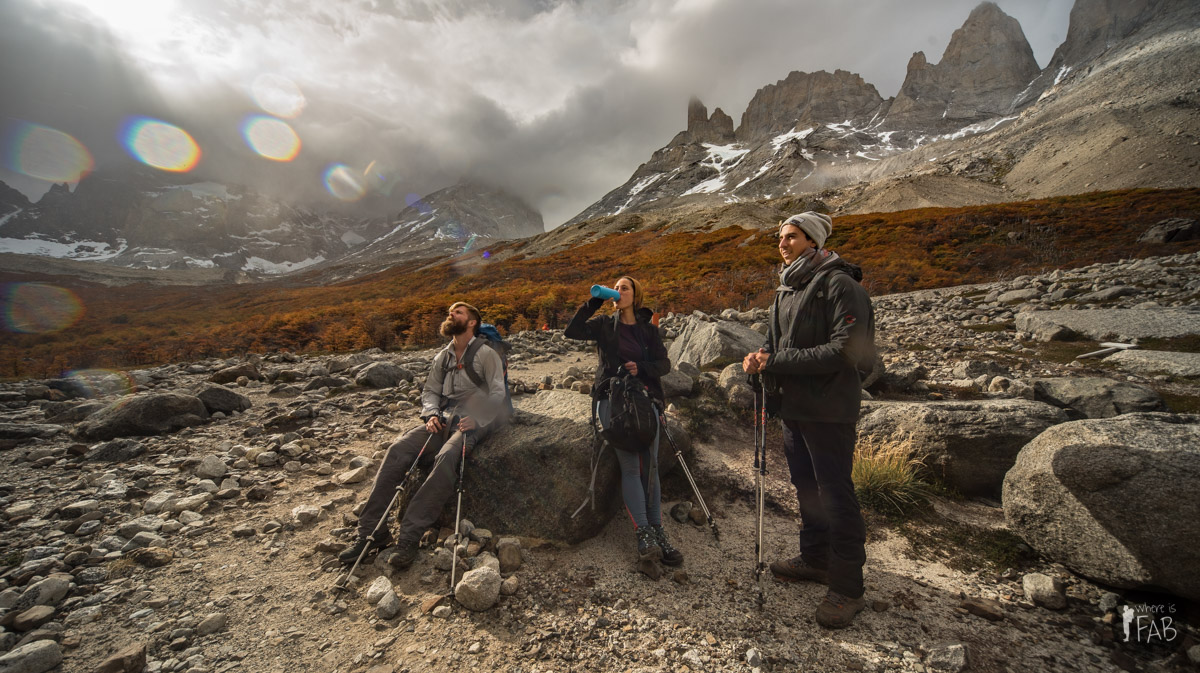
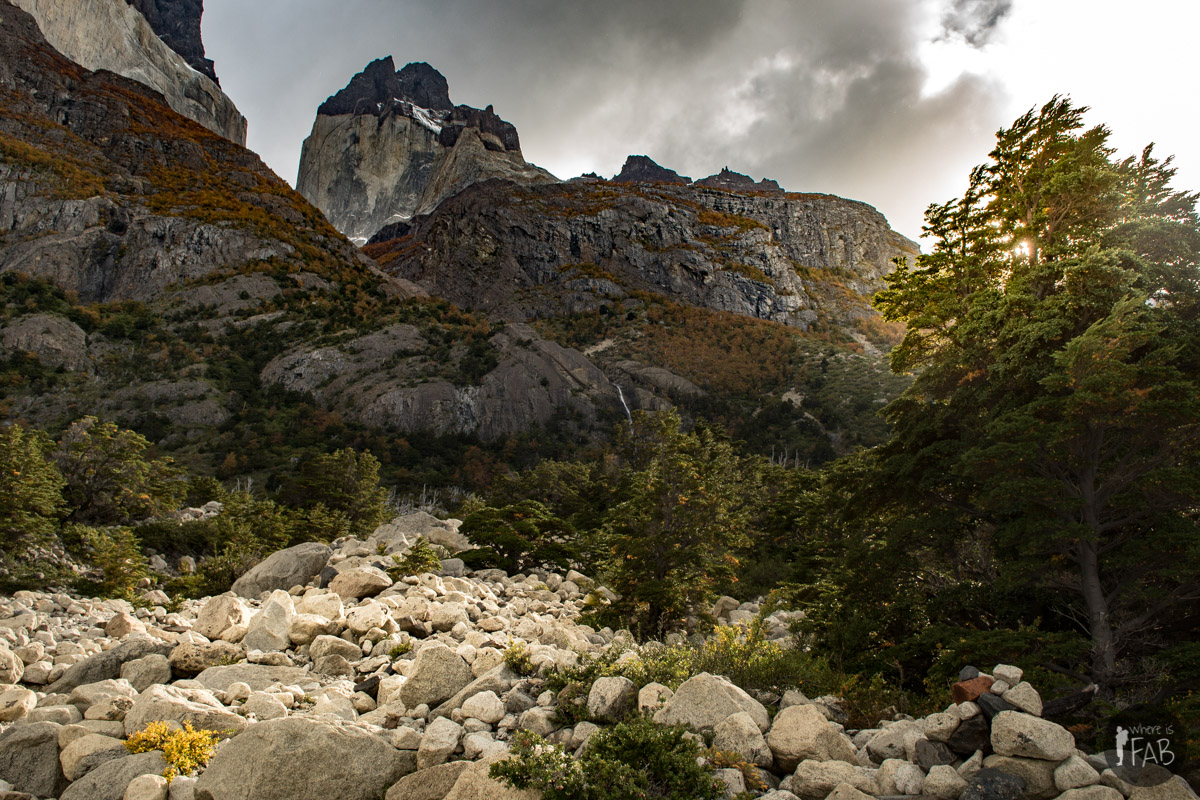
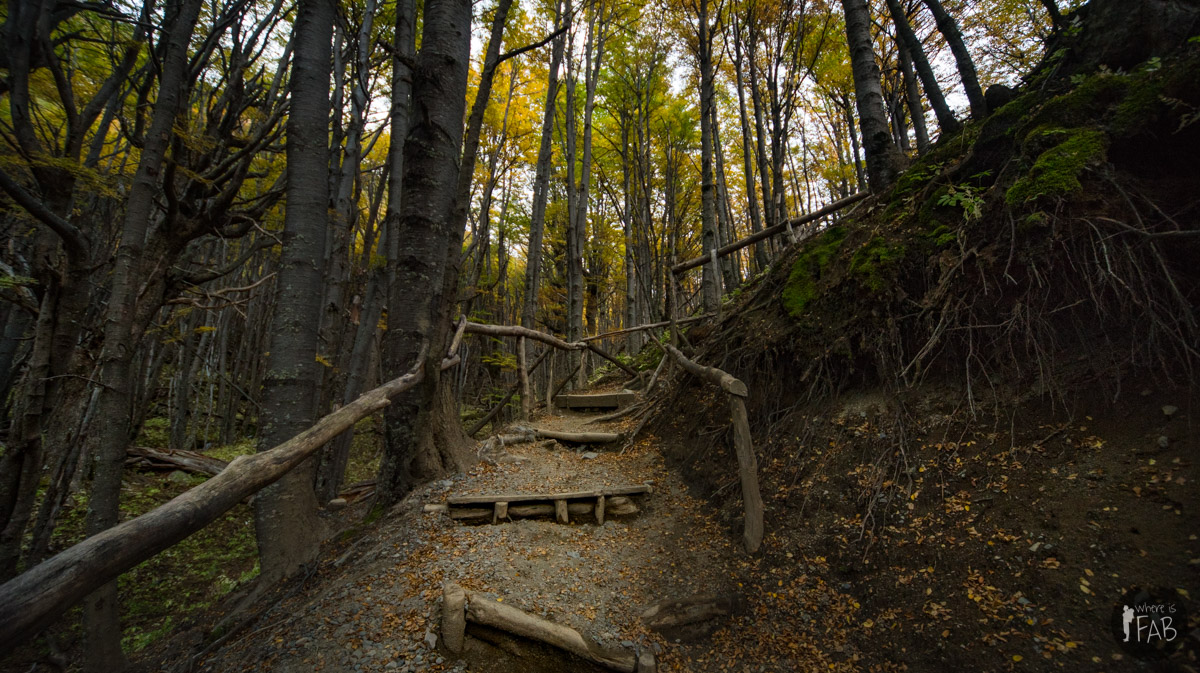
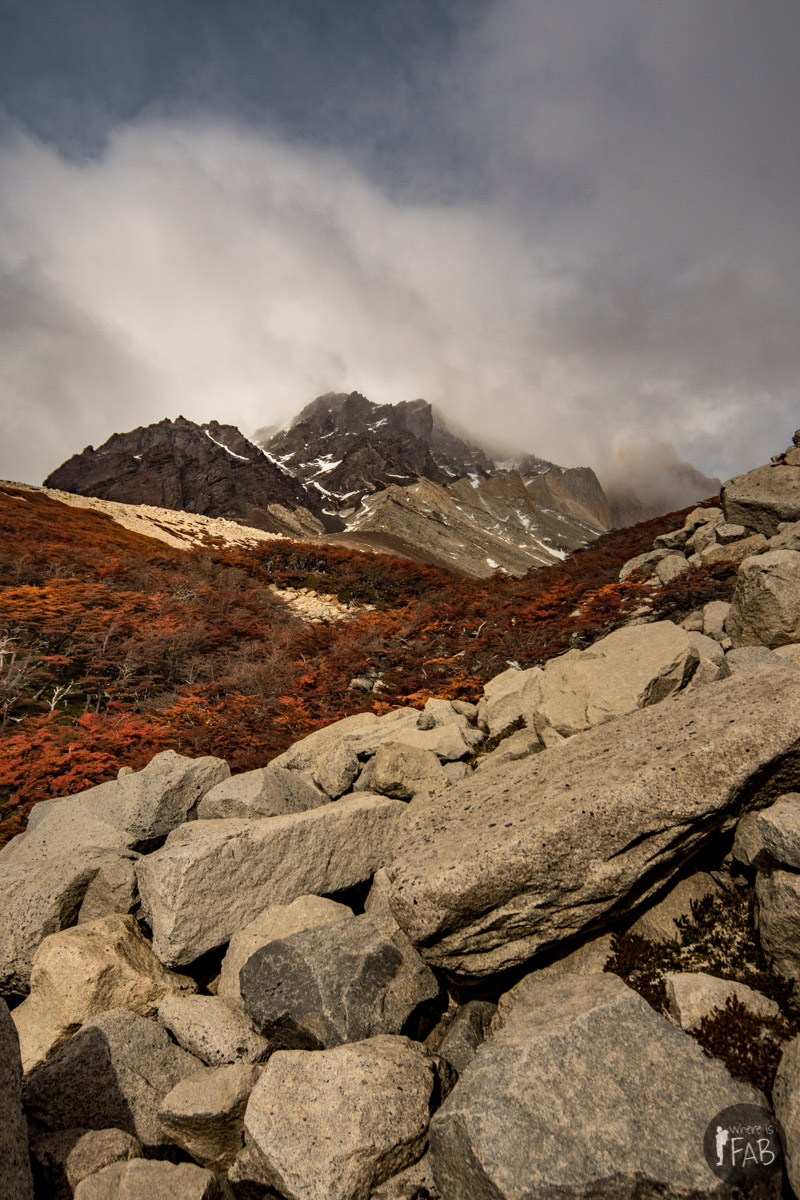
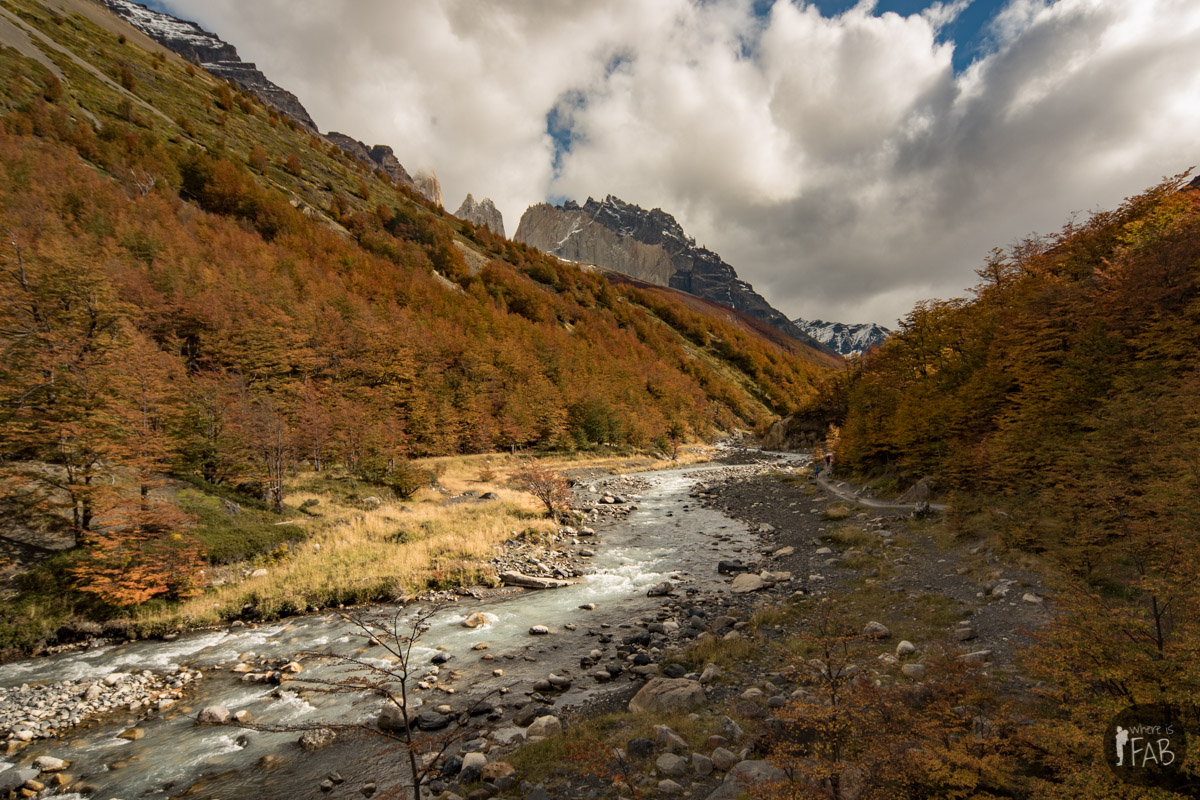
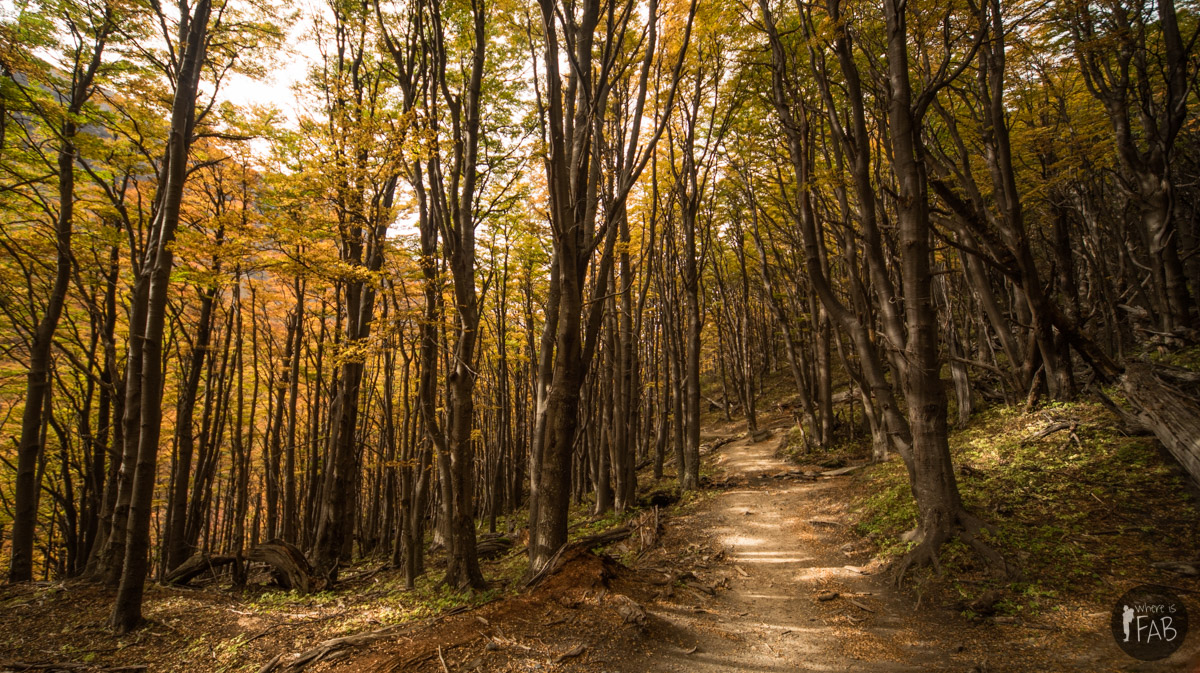
It is recommended to book your campgrounds long in advance! We didn’t for that first night and we had to negotiate a piece of ground to pitch our tents. For this 3rd day, we leave our bags at the campground and hike light to the Britanico Mirador. And what a hike! This was my favorite section of all. Snow waterfalls, countless streams and rivers, orange leafs and sharp summits all around. The view at the Mirador is just incredible. After enjoying it for a while, we hike down back to our campground getting ready for the longest section the next day.

DAY 4
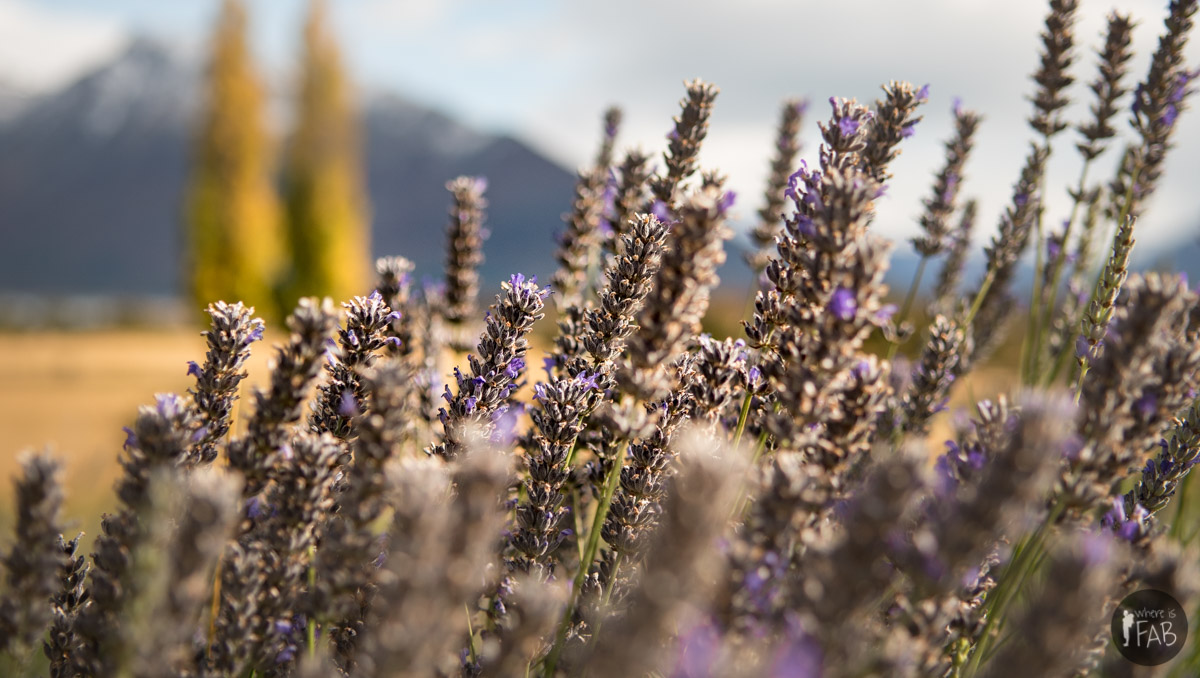
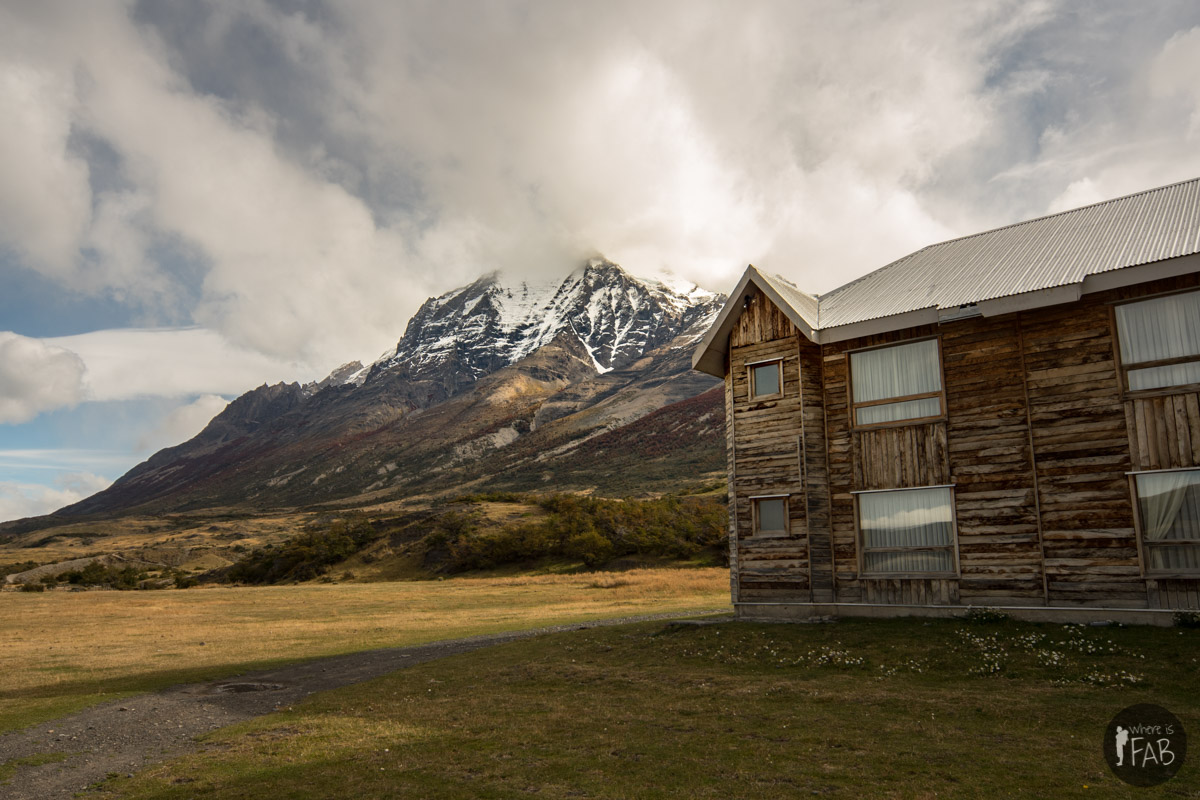
This fourth day is the longest section but it is mostly flat and open. We follow the coastline and absorb peacefully the force of the surrounding nature while meditating on our respective lives. I will never forget how peaceful I felt. Our bodies were tired but our steps at this point were just mechanical. I remember stopping at the Cuernos campground and have a couple shots of Pisco that felt so strong! Eventually, we made it to Las Torres hotel/campground and went to bed early to attempt the sunrise hike to the famous Mirador Torres.

DAY 5
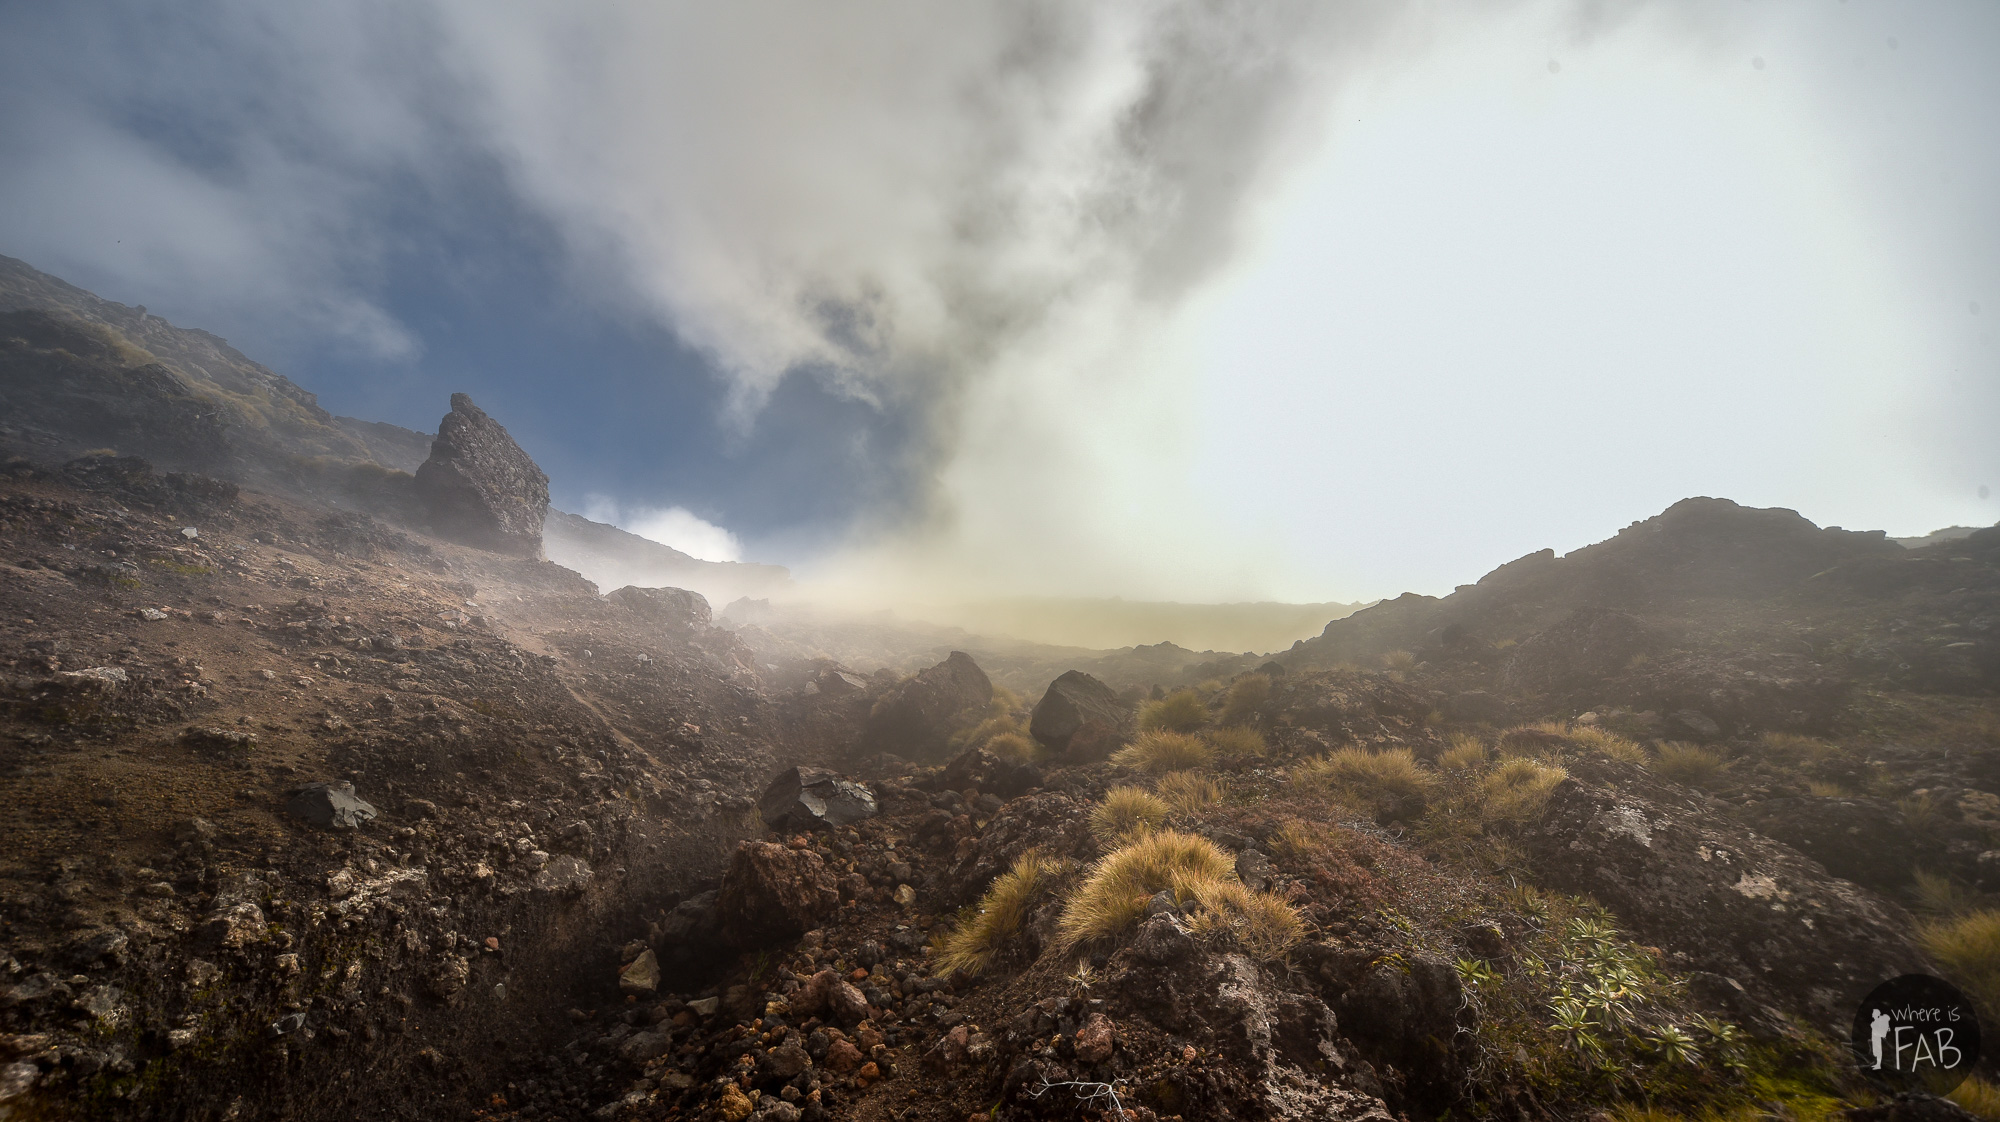
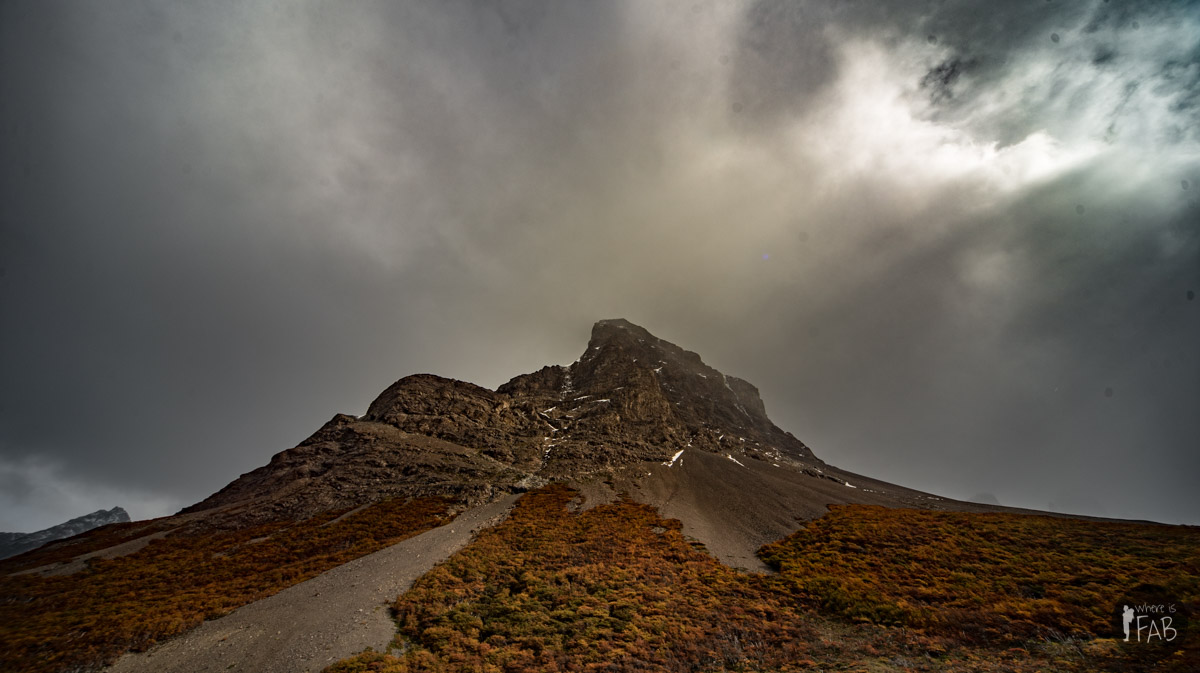
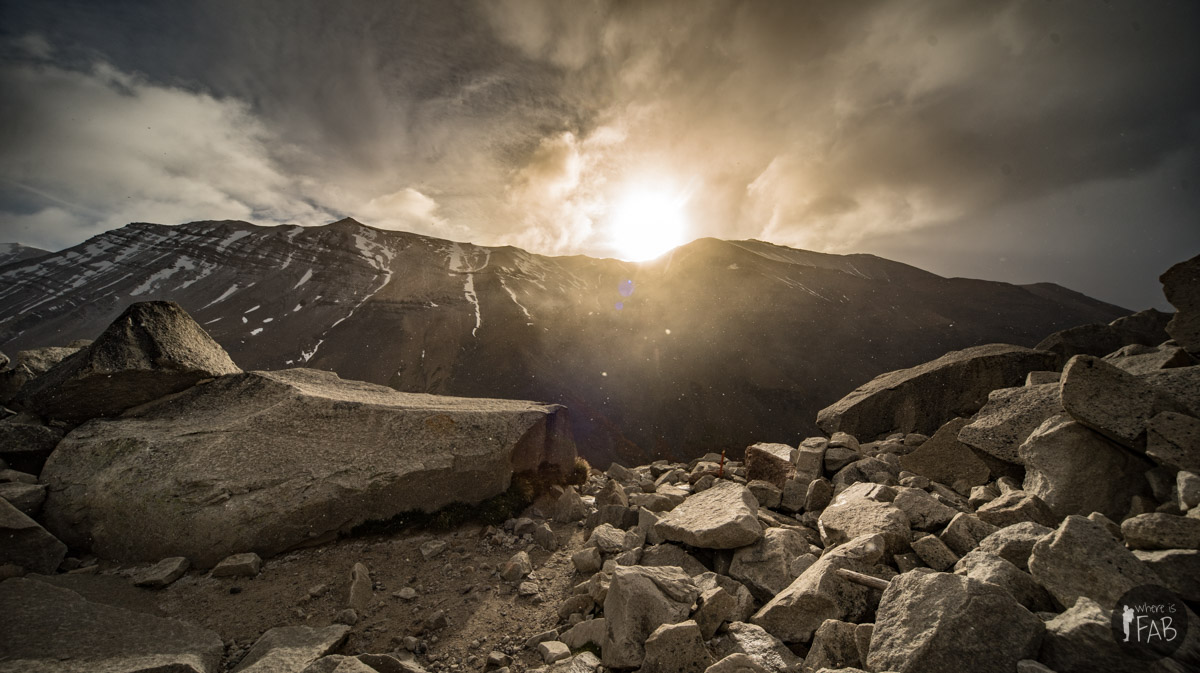
This german guy told us that it’s been days that the Torres are just covered with fog but we still have to give it a chance. We leave at 6am and start our long ascension as the sun is slowly rising transforming all the blues into oranges. The group scatters and here I am walking all alone with a tranquil smile that won’t go away. Some shy snow flakes zigzag down during that last steep kilometer to the top. Once we finally got there, the clouds opened up and the Torres were clearly visible!
Flying in the park was not allowed but not clear at first. I have this thought sometimes that flying around creates no damage to the landscape compare to hikers walking on it.
I noticed the interdiction of flying later when someone mentioned it to me and I saw a sign finally. The buzzing of multiple drones would be annoying and could distract you from you experience with nature, so I flew only when I was sure no-one was really around. I am a true hiker but also a passionate photographer trying to capture beauty without altering it. I share the trail, I share the clouds. For this chapter 3 of drone diaries, I experiment not only with photography panoramas but also with hyperlapse technics. Not taking pictures but just shooting stable videos to be accelerated in post. Reducing to very low the sensitivity of the gimbal or use the Tap Fly mode to let the DJI App do its magic.

This first pano is my favorite and was done using the full 180° mode that takes 21 DNG pictures that I than all stitched together in Lightroom.


The rest of the panos are either the simple panoramic mode that takes 9 pictures OR a series of bracketed photos took in portrait mode using the AEB feature of the mavic.
What is the best way to achieve beautiful HDR Panoramas with your Mavic?
There are basically 2 ways to achieve great panoramas with your Mavic. The first one consists in just using the automatic modes provided by the DJI app and take DNG shots. Only problem is that the drone will always use the horizon as the middle even if you started with your gimbal pointing up or down. By Taking the large 180° pano, you have more play later in post to crop the view you like. The other way is to take a series of bracketed pictures in portait mode. Combine each individual picture into an HDR file, and than combine all into a panorama. Results are really comparable and I think in the future, I will just use the 180° mode that offers more flexibility.
Useful Links
- Book your campgrounds here: www.parquetorresdelpaine.cl
- Where we rented our camping gear in Puerto Natales: www.rentalnatales.com
Related Posts